A while back I posted some pictures from the purse cake that Aimee made for me.
Here is an awesome movie she made, complete with photos and tips from the decorator herself. Great if you're interested in making this cake, or applying her techniques to another!
Monday, June 14, 2010
Friday, April 9, 2010
Juicy purse cake
Here's another cake made for our birthday exchange. Aimee made an awesome cake for me (Jackie).
Sweet Things: meet Aimee. (I stole the pic from her Facebook!)

Here I am on my birthday, ready for a night out in the town. (Ignore the ridiculous look on my face...)

How do you like my purse???
Wanna hear a secret? It's not really a purse! It's the surprise b-day cake I got from Aimee!!
No joke, but people didn't even realize it was a cake- they just thought someone had put their purse on the table.
See, here's my friend holding the cake while I pose:
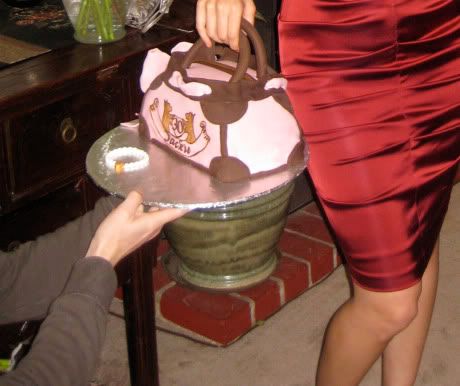
The very happy birthday girl with her cake. (I felt like a little kid!)

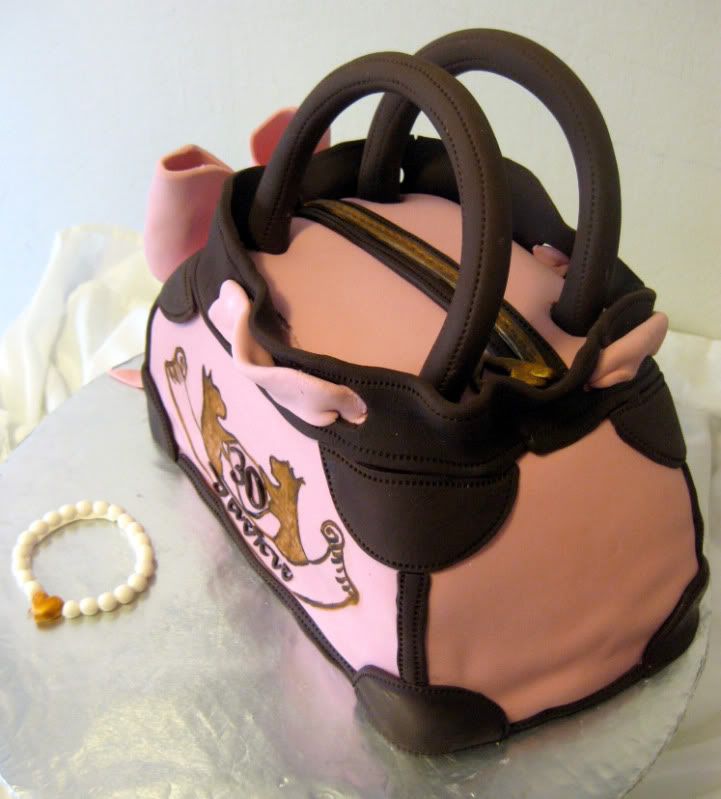
And now, some more photos of the cake. (Click on the first cake for a close-up slideshow of images)


Sweet Things: meet Aimee. (I stole the pic from her Facebook!)

Here I am on my birthday, ready for a night out in the town. (Ignore the ridiculous look on my face...)
How do you like my purse???
Wanna hear a secret? It's not really a purse! It's the surprise b-day cake I got from Aimee!!
No joke, but people didn't even realize it was a cake- they just thought someone had put their purse on the table.
See, here's my friend holding the cake while I pose:
The very happy birthday girl with her cake. (I felt like a little kid!)
And now, some more photos of the cake. (Click on the first cake for a close-up slideshow of images)
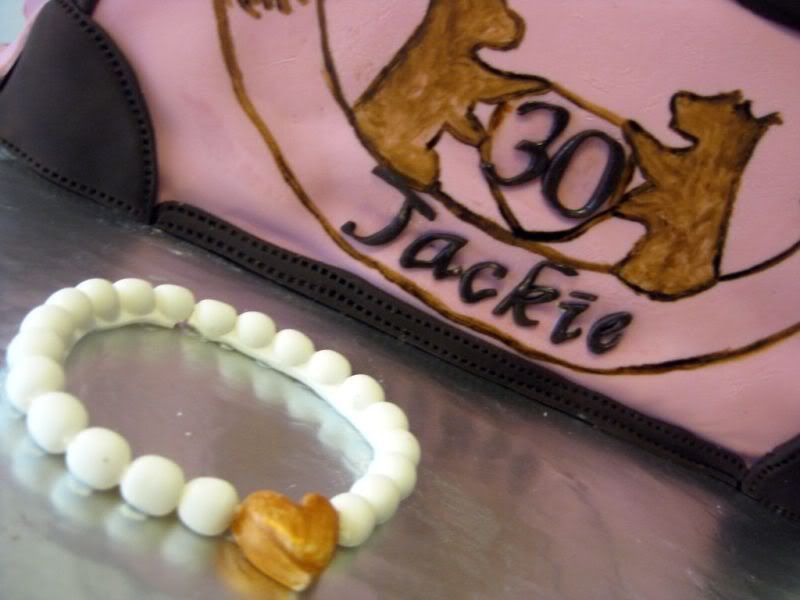
I have to admit- the entire cake was awesome but the little details made me the happiest. The stitching was rockin'. And the zipper?!? Insane. The zipper was my favorite!
Jackie
Monday, April 5, 2010
Nature Cakes
Nature Cakes was the tutorial covered during March's monthly meeting.
(Disclaimer: my pictures are a lot worse than the tutorial! But hopefully you can take away some neat tips, like I know all of us did at the meeting last week.)
Nature cakes refer to cakes that look like nature. Dirt, bushes, sand, rocks, etc. Here are some quick ideas Colleen shared with us.
1. Use a brush to provide texture to your chocolate frosting. (Warning: silicon brushes tend to rip the frosting off so be warned. Stick with natural bristles.) All Colleen is doing is tapping the brush gently on the top of the cake.

Click below for more ideas...
Sunday, April 4, 2010
Birthday Cake Exchange
Here's our first submission for our birthday cake exchange!
Barbara made a poker themed birthday cake for Lilianne, complete with giant sized poker chips and playing cards.


Barbara made a poker themed birthday cake for Lilianne, complete with giant sized poker chips and playing cards.


Chocolate leaves
Cake decorating tutorial time!!
I've seen/read about making edible leaves by painting chocolate onto leaves. So I figured I'd give it a shot. Looks like it turned out pretty good...
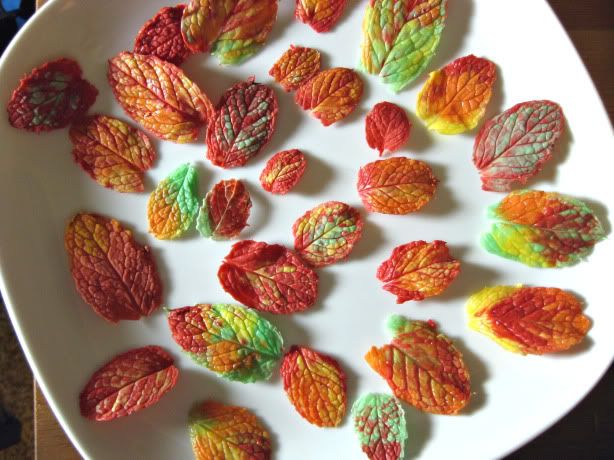
This was my first time trying this technique, and I have to say, it was easier and more successful than I even thought it would be. The moment you peel the leaf away from the chocolate is like magic!
All you need is:
* chocolate
* leaves (plastic or from an edible plant)
* cheapo paint brush
For chocolate you can use whatever block chocolate you want. I'd probably stay away from chocolate chips, due to the emulsifiers they use, they don't melt very easy. For decorating with chocolate I often use "melting wafers," or little buttons of chocolate, because they're cheap and you can buy them in a multitude of colors.
Alternatively, you can color white chocolate using chocolate coloring. But beware- regular food or icing coloring won't work b/c they're water-based (and water causes the chocolate to seize). You'll need chocolate coloring, which is oil-based to prevent the chocolate from seizing up.
To melt your chocolate just break it up (or toss a few wafers) in a little cup/bowl and warm in the microwave until just melted. Make sure not to burn the chocolate, so heat it at reduced power for short time-periods (30 seconds at first, less as you get close to the end.)
This is basically all you'll need to get started
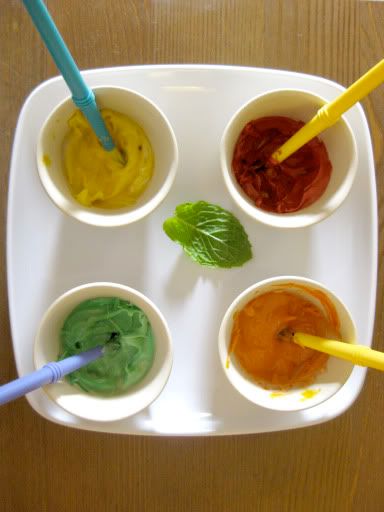
Click "Read More" below for step-by-step directions.
I've seen/read about making edible leaves by painting chocolate onto leaves. So I figured I'd give it a shot. Looks like it turned out pretty good...
This was my first time trying this technique, and I have to say, it was easier and more successful than I even thought it would be. The moment you peel the leaf away from the chocolate is like magic!
All you need is:
* chocolate
* leaves (plastic or from an edible plant)
* cheapo paint brush
For chocolate you can use whatever block chocolate you want. I'd probably stay away from chocolate chips, due to the emulsifiers they use, they don't melt very easy. For decorating with chocolate I often use "melting wafers," or little buttons of chocolate, because they're cheap and you can buy them in a multitude of colors.
Alternatively, you can color white chocolate using chocolate coloring. But beware- regular food or icing coloring won't work b/c they're water-based (and water causes the chocolate to seize). You'll need chocolate coloring, which is oil-based to prevent the chocolate from seizing up.
To melt your chocolate just break it up (or toss a few wafers) in a little cup/bowl and warm in the microwave until just melted. Make sure not to burn the chocolate, so heat it at reduced power for short time-periods (30 seconds at first, less as you get close to the end.)
This is basically all you'll need to get started
Click "Read More" below for step-by-step directions.
Subscribe to:
Posts (Atom)

